Showing posts with label repurposing. Show all posts
Monday, October 10, 2016
Crayons Crayons Crayons
Have you seen those cool Lego crayons? We have received some as party favors and my kids always love bringing them home and playing with them. There's always a surplus of broken crayons in our home and I recently found some never-been-used ice cube molds I bought from Ikea about a decade ago and I thought to myself, "Hey, why not upcycle some crayons on this Columbus Day since the kids are home!"
We started out by picking out the broken crayons from our stash.
Here's my munchkin, who thought he'd color his face like Joker for the day, peeling the wrappers.
We broke them into small pieces and placed them in cupcake liners.
I placed 3 cups at a time on a paper plate and microwaved them for 2 minutes and heated them some more in additional 30 second increments as necessary. (The glitter crayons actually melted quicker than the solid colored ones). A lot of the melted crayons actually stay on the liners and don't fully pour, so we had to put a bit extra crayon pieces in each.
We poured them into the molds, waited 10-20 minutes for them to cool and harden, then popped them out.
Some of them turned out good.
The kids were really excited to make them, and really excited to play with them when they were done. My daughter made a bed for these crayons. I don't think the kids will be using these for coloring any time soon.
These actually took us quite some time, as I had to take breaks to put the baby down to nap, and tried different methods of melting them (blow dryer, putting the whole $1 plastic mold into the microwave) and had catastrophic results - who knew that crayons can create such a mess!
There are other methods out there - using silicone molds and melting the crayons directly in them in the oven - but this is what worked for us with what we had on hand for a spontaneous project. It was (relatively) easy, free, and fun! What else can a mom ask for?
: : : Caeli & Co : : :
Labels:
art project,
Columbus Day,
craft project,
crayons,
DIY,
easy,
free,
frugal,
home,
ideas,
molds,
quick,
repurposing,
SAHM,
simple,
toddler,
win
Thursday, June 25, 2015
Summer Activity for Kids - Make a Train
My kids are home for the summer, which means boot camp... for mommy! It takes so much time and energy to research (aka pinterest) and preparing activities to keep the little ones away from the TV and have fun.
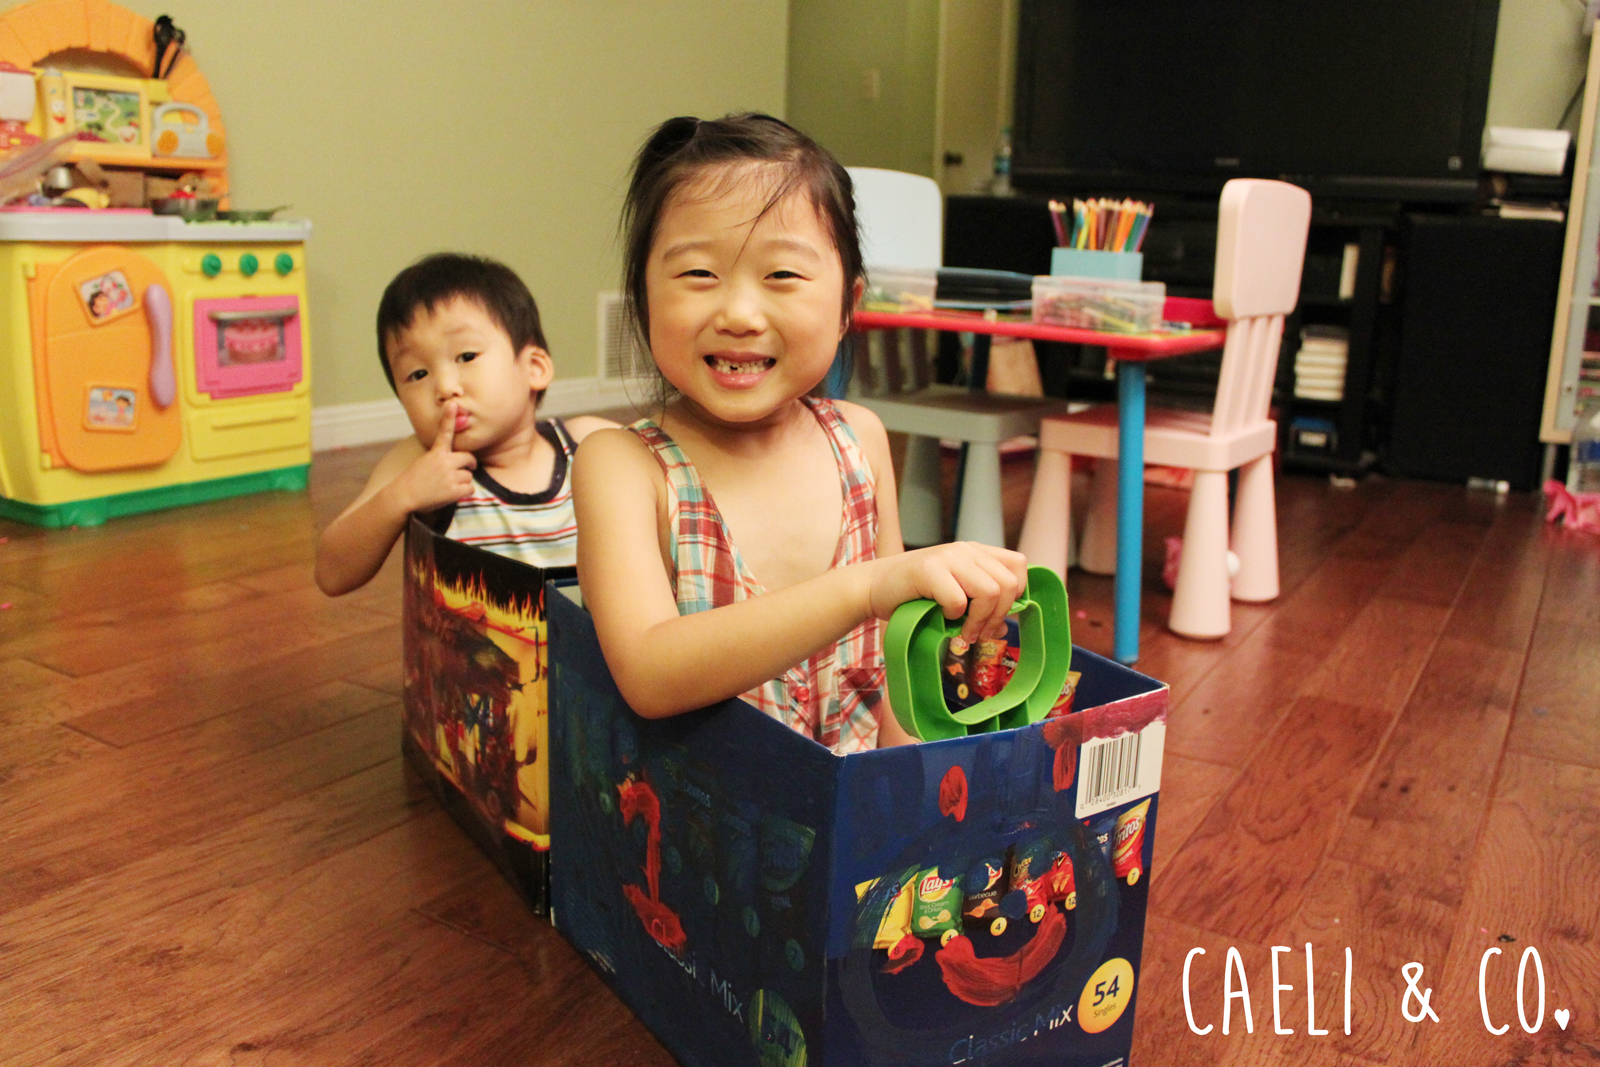
Today was Make-A-Train day. We used materials we already had: empty boxes, paint brushes, washable paint (oh, yes - washable paint is a must for these little fingers!), and paper plates, and I printed out Thomas' face on our nifty b&w printer.
The kids seemed to have fun and they indulged creating their own "Thomas" and, of course, riding Thomas!
Sending lots of fun and cool thoughts this summer,
: : : Caeli & Co : : :
Labels:
art project,
boxes,
craft project,
DIY,
easy,
free,
frugal,
home,
ideas,
quick,
repurposing,
simple,
summer,
Thomas,
toddler,
train
Sunday, December 15, 2013
Simple Party Details
I was privileged and honored to host my sister's bridal shower this past Saturday. I was really wanting to reflect her lovable character and send her off into her marriage with a sweet celebration.
Small details can add so much character to a party, and here are some from the bridal shower. With the exception of the chandelier centerpiece, these are quite simple, frugal, and can be created in a short amount of time.
MENU CARDS: For buffet-style meal, having small menu cards can upgrade the level of elegancy. Don't have a color printer? Simply print in black and glue onto a folded color cardstock paper.
FAVOR NOTES: For simple thank you notes on the party favors, use a cute-shaped puncher and "thank you" stamps. Use different shades of the party color scheme to create a variety of colors.
COLORED PLATES: Layer different shades of different size colored paper plates to create a faux-charger feel to the table.
CENTERPIECES: The above centerpiece of branches was very simple. I was able to find twigs and branches that had already fallen at a local park. No trees were harmed in any way in this process. =) I spray painted them silver, then hung beads and ornaments.
The centerpiece below, though it didn't cost much money, took some time and energy. I saw some decorative cardboard chandelier ideas online and thought that it would work great as a centerpiece. Who knew cutting an elaborate shape out of a cardboard was going to be this tough!
If you have any other great party ideas that are simple and quick (and saving money is always a plus!), feel free to share!
Wednesday, October 9, 2013
I heart DIY !
I love DIY, I love crafts, I love repurposing, I love this website:
diycozyhome.com
So many cool projects to try!
diycozyhome.com
So many cool projects to try!
Subscribe to:
Posts (Atom)