Monday, October 10, 2016

Crayons Crayons Crayons


Have you seen those cool Lego crayons?  We have received some as party favors and my kids always love bringing them home and playing with them.  There's always a surplus of broken crayons in our home and I recently found some never-been-used ice cube molds I bought from Ikea about a decade ago and I thought to myself, "Hey, why not upcycle some crayons on this Columbus Day since the kids are home!"

We started out by picking out the broken crayons from our stash.

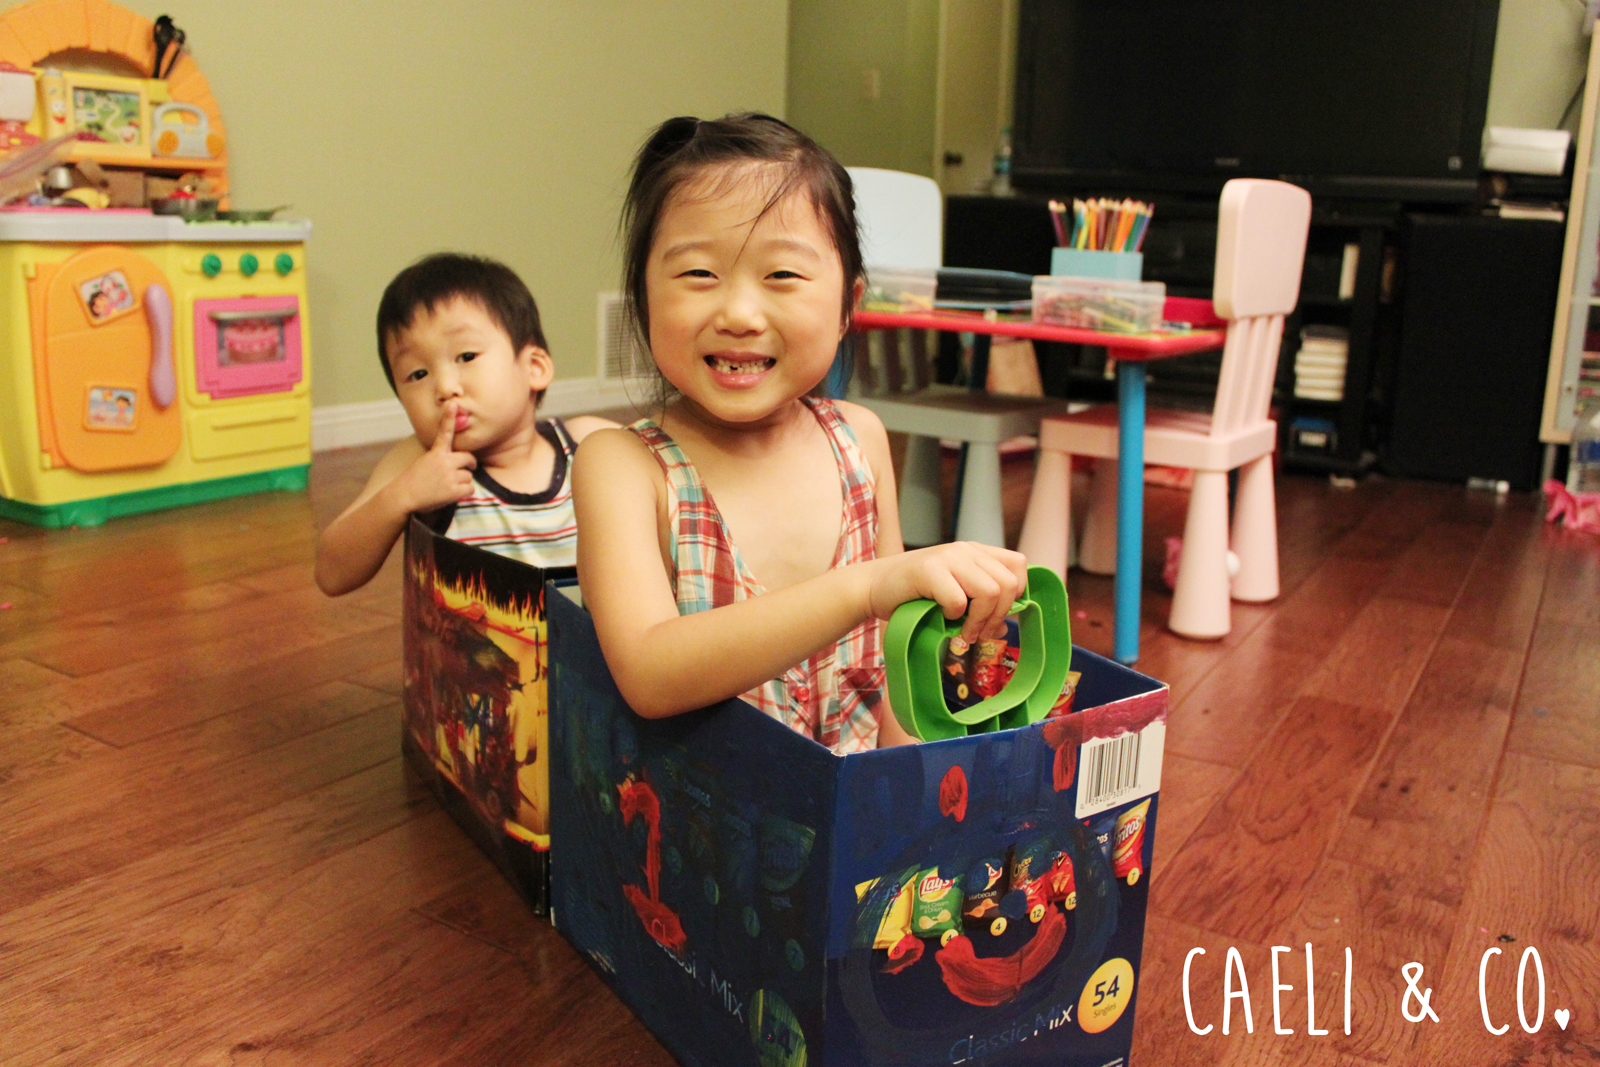
Here's my munchkin, who thought he'd color his face like Joker for the day, peeling the wrappers.

We broke them into small pieces and placed them in cupcake liners.

I placed 3 cups at a time on a paper plate and microwaved them for 2 minutes and heated them some more in additional 30 second increments as necessary. (The glitter crayons actually melted quicker than the solid colored ones).  A lot of the melted crayons actually stay on the liners and don't fully pour, so we had to put a bit extra crayon pieces in each.

We poured them into the molds, waited 10-20 minutes for them to cool and harden, then popped them out.

Some of them turned out good.

The kids were really excited to make them, and really excited to play with them when they were done.  My daughter made a bed for these crayons.  I don't think the kids will be using these for coloring any time soon.

These actually took us quite some time, as I had to take breaks to put the baby down to nap, and tried different methods of melting them (blow dryer, putting the whole $1 plastic mold into the microwave) and had catastrophic results - who knew that crayons can create such a mess!

There are other methods out there - using silicone molds and melting the crayons directly in them in the oven - but this is what worked for us with what we had on hand for a spontaneous project. It was (relatively) easy, free, and fun!  What else can a mom ask for?

: : : Caeli & Co : : :

Thursday, July 9, 2015

Summer Activity for Kids - Bead Craft


Who doesn't love beads?  Sure, it can get quite messy and and falls into the tiniest of crevices, but it's so much fun and secretly educational!

We made necklaces and bracelets today.  This activity was super cheap, great for kids of different ages (recommended for children over 3, due to small parts)

I bought a packet of rounds beads, a packet of heart-shaped beads, and plastic lacing strings at a dollar store for a total of $3 (plus tax, of course).

Let the fun begin!


My older child is bursting with creativity, so this was an outlet to express that while exploring patterns.

My younger one got to practice his colors and work on his fine motor skill as he threaded the beads onto the strings.

His teddy bear thought that it was just a great snack time.
Nom nom nom

Here is a finished product!

I made bracelets for each of the kids, you know, because I love them, and mommy wanted in on the fun too!


Happy crafting!


: : : Caeli & Co : : :

Thursday, June 25, 2015

Summer Activity for Kids - Make a Train

My kids are home for the summer, which means boot camp... for mommy!  It takes so much time and energy to research (aka pinterest) and preparing activities to keep the little ones away from the TV and have fun.

Today was Make-A-Train day.  We used materials we already had: empty boxes, paint brushes, washable paint (oh, yes - washable paint is a must for these little fingers!), and paper plates, and I printed out Thomas' face on our nifty b&w printer.

The kids seemed to have fun and they indulged creating their own "Thomas" and, of course, riding Thomas!


Sending lots of fun and cool thoughts this summer,


: : : Caeli & Co : : :

Wednesday, April 1, 2015

April Fools!


Did someone get you good for this year's April Fools Day?  Have you started planning payback for next year already?

Here are some office pranks that are easy, requires minimal resources and time, and fun:

Remove all writing utensils from your coworker's desk, take a picture of them, print, roll it up, and place where you found the pens and pencils.  Hide the actual pens and pencils somewhere around the desk for your coworker to find.  My coworkers found them taped under their desks, chairs, behind the computer, and monitor!

Use string or yarn to create "laser beams" all over your coworker's office/cubicle.  Give them a "mission impossible" time to reach their desk.

I think the sloth in spacesuit is too adorable to keep to myself and replaced all my coworker's family pictures with this sloth.

And of course, some trolling around the office: dry paint warning signs, free strips of paper, velociraptor-free work environment sign, etc.


Have fun!


: : : Caeli & Co : : :

Friday, October 24, 2014

Simple & Quick Halloween Decorations


There's only a week left until Halloween!  Do you need do decorate your home or office quickly and on a budget?

Here are some ideas that I've tried that maximizes the effect in a short amount of time:


: : : idea one : : :
MUMMY DOOR
Original idea: http://www.myclassroomideas.com/mummy-classroom-door-decoration-idea/
TIME:  30 minutes
MATERIALS:  toilet paper, black trash bag, yellow construction paper, marker, tape, scissors
COST:  FREE (I used whatever was available on hand)
DIRECTIONS:
(1) tape black trash bag on door
(2) cut yellow construction paper into 2 circles and color in a smaller circle in each to create eyes
(3) tape eyes onto the black trash bag
(4) tape toilet paper in slants and sometimes weaving through other ones


: : : idea two: : :
SPIDER WEBS
TIME:  30-60 minutes
MATERIALS:  fake stretchable spider webs (fake spiders were included in the bags I used.
COST:  $1/bag at Target - I used 2 bags for about 1,000 sq ft of space, so total cost was $2!
DIRECTIONS:
(1) decorate your house using the spiderwebs - looks especially awesome in corner spaces and windows.


: : : idea three: : :
3D BATS
TIME:  30 minutes
MATERIALS:  printer, scissors, tape
COST:  FREE
DIRECTIONS:
(1) find a cool (or easy to cut) bat silhouette online.
(2) print them in black
(3) cut out the shape and tape them to the walls
(4) tape the middle section first, then tape the wings so that they are not flat on the walls but slightly closer to the body of the bats (middle section). This creates an illusion of flying bats!

Happy decorating!

: : : Caeli & Co : : :

Tuesday, August 19, 2014

A Notebook Facelift

My new notebook that I was using at work seemed a bit boring:  A big logo of a freight forwarder, and "2014" in the most common and overused font.  I started thinking, "how can I give this notebook a facelift?"

I tried googling different designs, and there were so many cool and beautiful notebook covers, but none that would match the color of my notebook, or with my resources - paper, glue, printer.

Sometimes simple is best!  I found the highest resolution image of an iPad and cropped out frame, printed and glued the paper onto my notebook, and voila!  A notebook I can enjoy using.  What do you think of my notePad?


Wednesday, April 2, 2014

Hanging Bookshelves

We have a lot of wonderful books for the children at home, of which only some are really read and loved.  What about the other amazing books that my little ones can benefit from?  I decided that this was a case of "out of sight, out of mind."

I started searching online for children's bookshelves, the ones that showcases the cover of the books, and found that either they were too expensive or takes up too much room.  Then I started finding some wonderful DIY shelves made from fabric and curtain rods.  These were perfect.  I decided to make my own special version for my children.

For my version, I wanted a material that was clear, and hang as close to the wall as possible.  Here is the outcome:

I used vinyl for the shelf "pockets" so that books can be seen and lined the dowel pocket and back half with fabric for extra accent.  I made a hanging strip with fabric so that it lays flat against my closet door - we have very limited space! - and used 3M Command Strips for hooks.

Here is a brief summary of how everything was put together in pictures:
The whole project took me about six hours complete, and it was completely worth it.  My children are reaching for different books, they are asking us to read to them much more often, and the clutter on my their table is gone!

Such a mom win.  Feel free to share what creative win's were had, like this little monkey engaging in his book.


: : : Caeli & Co : : :